
Manual Lathe Operation: Three Ways to Avoid Part Deflection
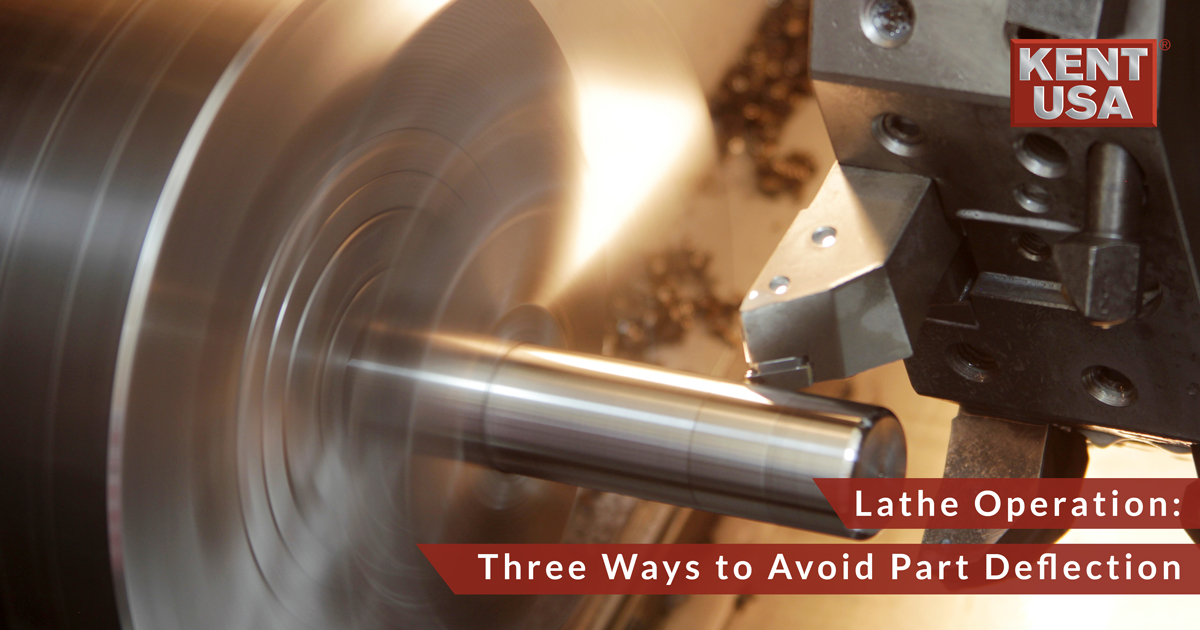
Manual lathe operation can be challenging work. Extend any workpiece more than three to four times its diameter from the chuck and you’re asking for deflection. The result is chatter, leading to poor tool life and ugly parts. The part you’re turning will be probably be tapered like a candlestick. In extreme cases, it will climb up and over the cutting tool, wreaking all kinds of havoc. Kent USA knows this, which is why it has equipped its complete lineup of economy, precision, and big bore manual lathes with a tailstock, steady rest, or both. For everything else, there’s the broom stick.
Tailstock Support on a Manual Lathe
Manual lathe operators often turn shafts between centers, using a carrier or “dog” to drive the part. Otherwise, they might chuck parts on one end and support them on the other using the tailstock and center. A Kent USA CTL-618EVS manual lathe, for example, accepts one of the more common centers, a Morse Taper #2. If spindle speeds are relatively slow (say no more than a few hundred RPM), feel free to use a dead center and plenty of grease. Otherwise, use a revolving live center for higher speeds, and apply just enough pressure to keep the part from deflecting.
Manual Lathes and Steady Rests
A manual lathes such as the Kent USA TRL-1340/V come standard with a steady rest. It uses three adjustable “fingers” to support the workpiece from all sides, preventing deflection. Here again, apply some grease to prevent marring the workpiece. And don’t apply more force than is necessary. For very long workpieces, you might need a steady rest and a tailstock. Use a dial indicator to verify that the bar or workpiece is still on center.
Time to Grab the Broom
Maybe your workpiece doesn’t have a hole in the end, so a tailstock is out. Or perhaps your manual lathe doesn’t have a steady rest. Don’t despair. Chances are good the solution is resting against the wall. Grab the nearest broomstick, saw off a foot or so, and use it to carefully apply pressure to the workpiece just ahead of the cutting tool. A chunk of brass works too, but no matter how important the job, don’t use your finger. Always keep your ad-hoc workpiece support a safe distance from your body, too, positioned so that it can’t get jammed up between the part and the machine. Remember, safety first!
Share this article: